|
|
| Author |
Message |
darkhart07
Joined: 29 Jan 2014
Posts: 1
Location: United States
|
 Posted: Wed Jan 29, 2014 4:25 pm Post subject: Help with changing to a specific color Posted: Wed Jan 29, 2014 4:25 pm Post subject: Help with changing to a specific color |
 |
|
So I want to change the color of the seat on my motorcycle to basically a lighter brown. I had a picture of the exact color I want and I tried using the color replacement tool/brush to change it, but it doesn't turn out at all like the color that I used to get from the eye dropper. And sure the clone stamp tool would work but I don't wanna lose the depth in color to the seat.
If someone could show me how to take the color from the brown color patch and transfer the exact color to the seat without removing depth, or just do it for me (and maybe try to explain how you did it?) I'd appreciate it.
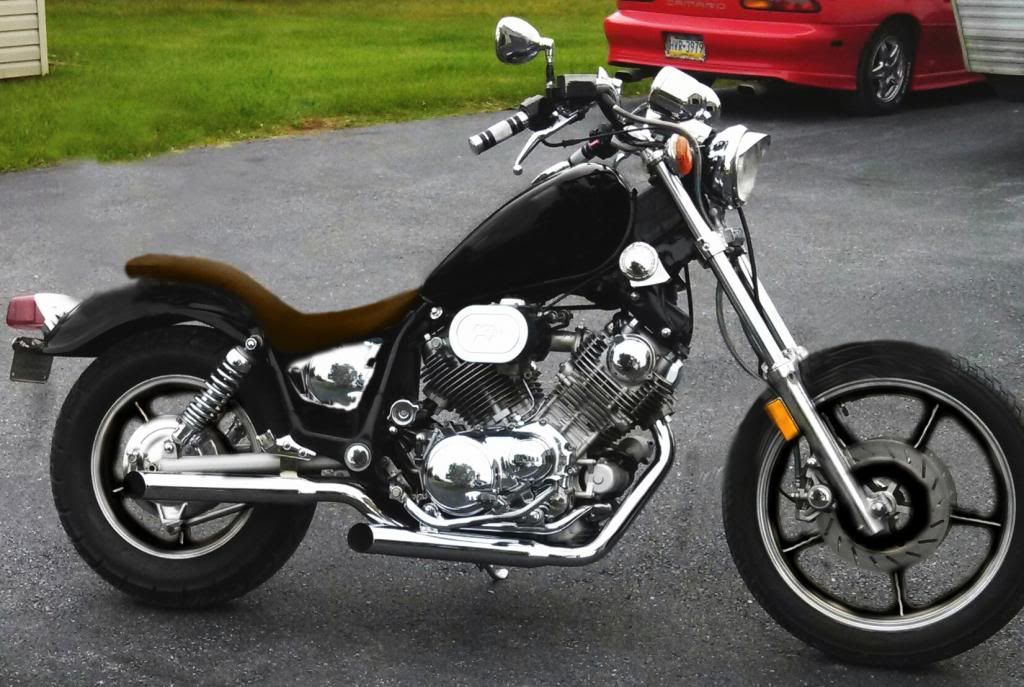
The seat color I want to change.
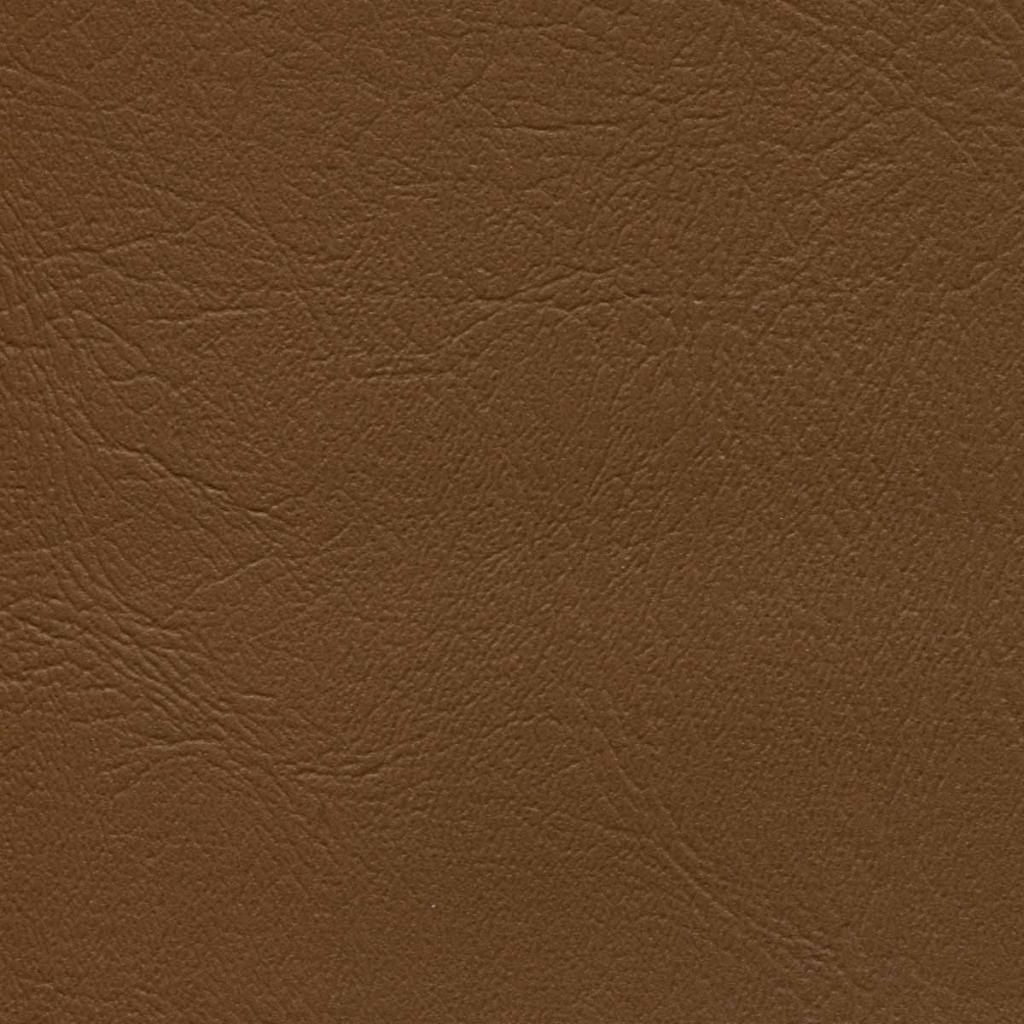
Color I wanna change it to.
|
|
|
|
|
 |
michael80
Joined: 12 Dec 2012
Posts: 80
|
| Posted: Mon Mar 24, 2014 1:31 pm Post subject: |
|
|
cant you just use pentool and draw the form of the seat, it will now be in its own layer. then you either use this as a lkyermask for the patch you have found or even better you select the patch make it a pattern. then u select the pentool drawn the contuor of the sadle and now you have a new layer in black white or whatever your foreground color is. this layer will you now add a layerstyle pattern in this way you can zoom in or uot on the pattern
|
|
|
|
|
|
michael80
Joined: 12 Dec 2012
Posts: 80
|
| Posted: Mon Mar 24, 2014 1:38 pm Post subject: |
|
|
here a picture where the patch are used as pattern the seat is marked with pentool and this is giving a layerstyle with patterns and the pattern are reduced to size 25 percent
|
|
|
|
|
|
michael80
Joined: 12 Dec 2012
Posts: 80
|
| Posted: Mon Mar 24, 2014 1:42 pm Post subject: |
|
|
bike
| Description: |
|
| Filesize: |
79.08 KB |
| Viewed: |
313 Time(s) |

|
| Description: |
|
| Filesize: |
148.27 KB |
| Viewed: |
313 Time(s) |

|
|
|
|
|
|
|
Sebastian
Joined: 24 Feb 2014
Posts: 60
Location: Serbia
|
| Posted: Mon Mar 24, 2014 6:29 pm Post subject: |
|
|
hi there. have you guys tried to use the Curves adjustment tool?
Michael's method is good for pictures with better detail,but because there isn't that much detail invisible the patching the texture in makes it look out of place.
here's what I've done:
make a selection of the outline of the seat, and go to
Layer>New adjustment layer>Curves and hit OK. You'll have a layer mask for the seat. adjust the Curves so it looks good. push the RGB up bit and the Red's up a bit.
here's a tutorial on how to use the Curves adjustment, it's fairly easy and very handy, it will help in many other things.
http://www.youtube.com/watch?v=_PFF0yPy0S8
| Description: |
|
| Filesize: |
168.06 KB |
| Viewed: |
306 Time(s) |

|
|
|
|
|
|
|
|


