|
|
| Author |
Message |
Q540
Joined: 17 Apr 2014
Posts: 2
|
 Posted: Thu Apr 17, 2014 11:28 pm Post subject: Can someone teach me how to change the color of this print? Posted: Thu Apr 17, 2014 11:28 pm Post subject: Can someone teach me how to change the color of this print? |
 |
|
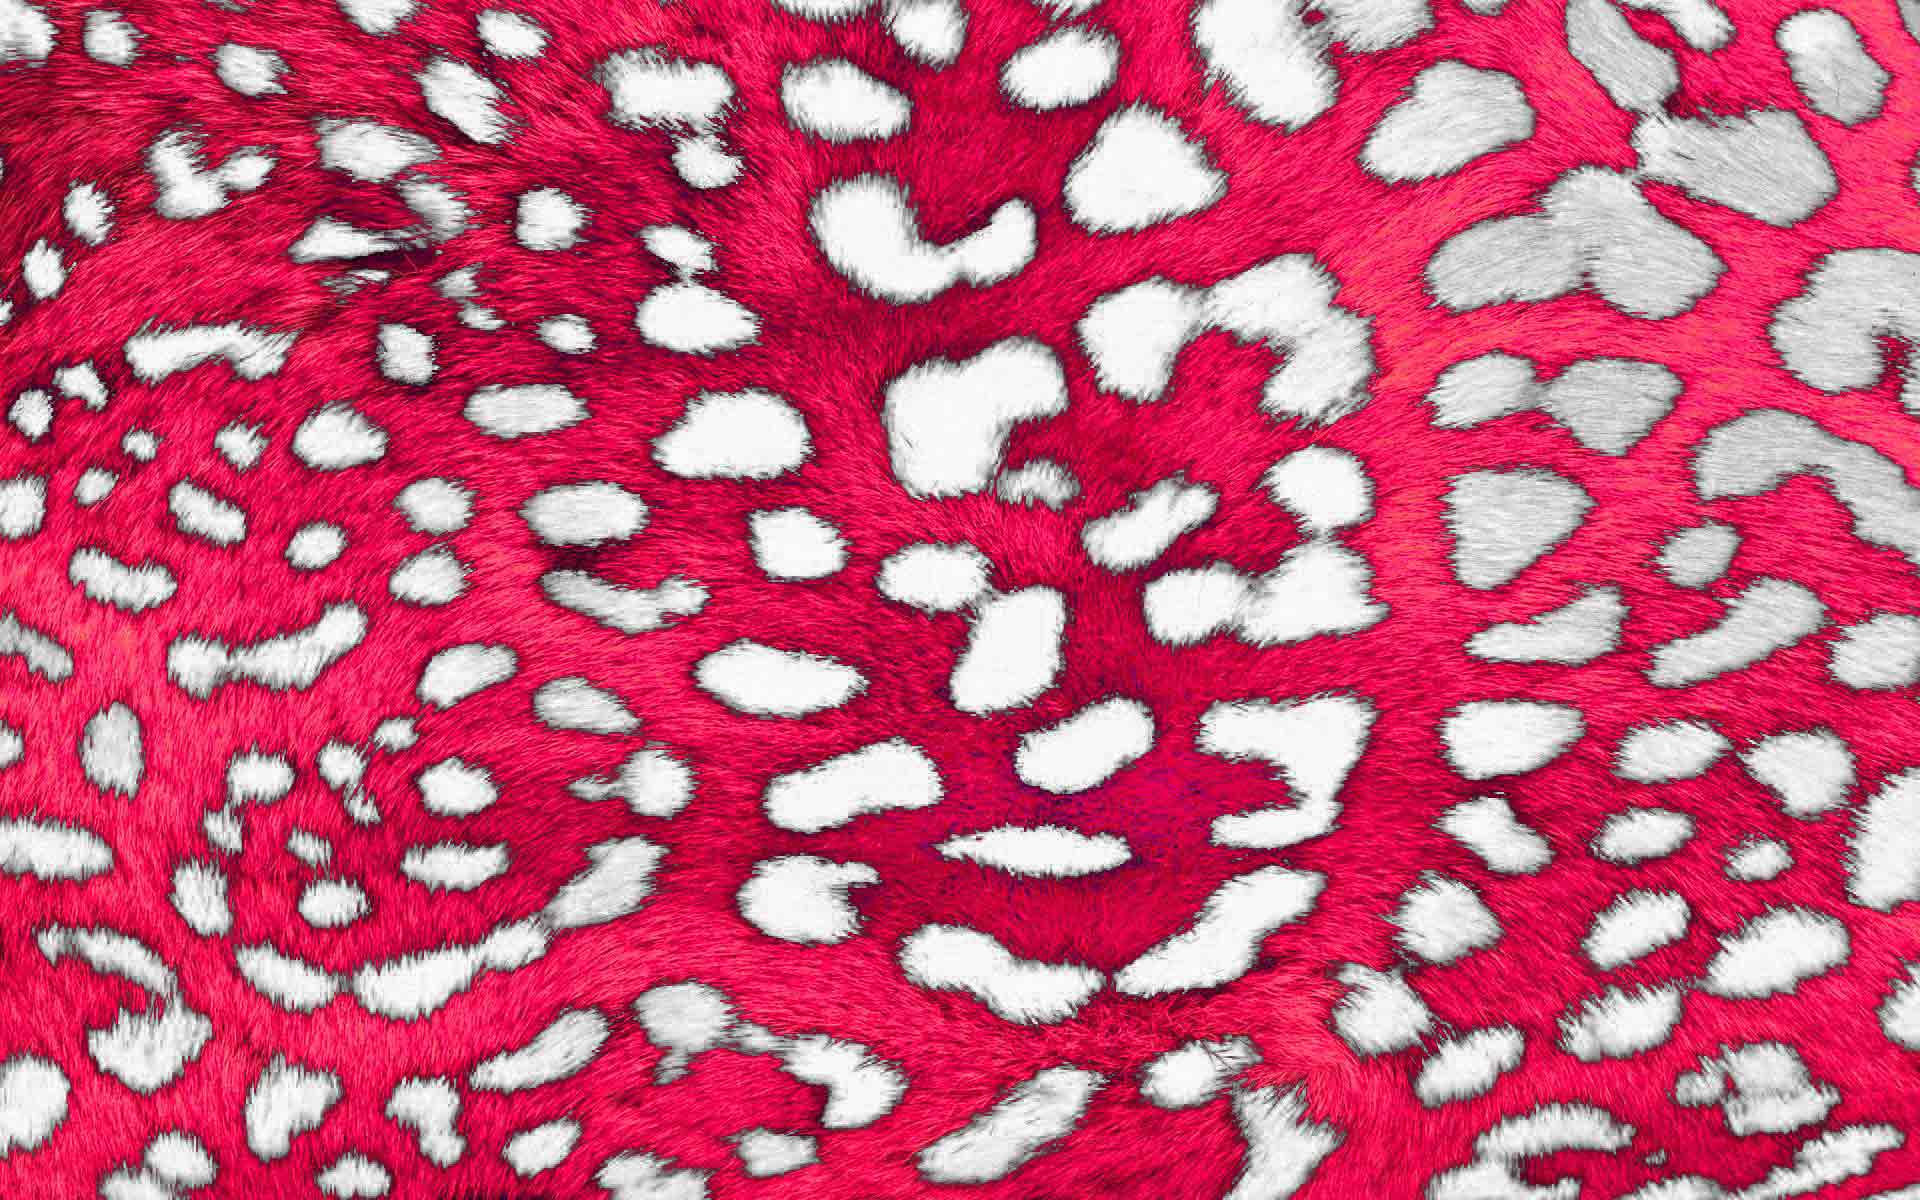
I'd like to know how to change the black spots of the leopard print into white. Could someone show me how to do this?

I'd like to do it so the texture of the print remains the same. Thanks!
|
|
|
|
|
 |
Rarity
Joined: 27 Nov 2012
Posts: 329
Location: The Netherlands
PS Version: CS6
OS: Windows 8
|
| Posted: Fri Apr 18, 2014 6:59 am Post subject: |
|
|

Made 3 duplicates:
First duplicate - Desaturated
Second duplicate - Desaturated, Inverted and Masked so only half was visable
Third duplicate - On color blend mode and hidden
When all is set up like this, only thing left to ensure is the new pink will match the old one in terms of contrast. I used levels and put the middle slider a bit to the right hand side.
Remove the layer mask, reveal the colour layer and done.
_________________
Bart J.A.H. de Brouwer |
|
|
|
|
|
thehermit
Joined: 05 Mar 2003
Posts: 3987
Location: Cheltenham, UK
|
| Posted: Fri Apr 18, 2014 7:06 am Post subject: |
|
|
Welcome to the forum.
Copy the blue channel and use that as a basis of a mask. Or work on a copy of the K channel (which is what I did). Copy channel and use the dodge tools set to midtones and highlights, I went a little roughly, you could spend longer building your mask.
I then double clicked the thumbnail and used blend-if command to remove black from the 'this layer' by splitting the sliders.
My effort took 10mins, but with refining and time spent dealing with casts after the mask (which will never be perfect) would yield better results.
Here is a link to the PSD in my dropbox folder if you want to look at it - don't expect too much.
https://dl.dropboxusercontent.com/u/6587487/Photos/mask.psd
| Description: |
|
| Filesize: |
195.75 KB |
| Viewed: |
432 Time(s) |
|
_________________
If life serves you lemons, make lemonade! |
|
|
|
|
|
thehermit
Joined: 05 Mar 2003
Posts: 3987
Location: Cheltenham, UK
|
| Posted: Fri Apr 18, 2014 7:08 am Post subject: |
|
|
lol rarity - great result - back to the drawing board for me  - was posting as you were! - was posting as you were!
_________________
If life serves you lemons, make lemonade! |
|
|
|
|
|
Q540
Joined: 17 Apr 2014
Posts: 2
|
| Posted: Fri Apr 18, 2014 2:16 pm Post subject: |
|
|
| Rarity wrote: |
Made 3 duplicates:
First duplicate - Desaturated
Second duplicate - Desaturated, Inverted and Masked so only half was visable
Third duplicate - On color blend mode and hidden
When all is set up like this, only thing left to ensure is the new pink will match the old one in terms of contrast. I used levels and put the middle slider a bit to the right hand side.
Remove the layer mask, reveal the colour layer and done. |
Thanks for the help guys!
Nice editing! For my 2nd duplicate, what did you mean by masking it so half was visible and how do you do this?
Appreciate it
|
|
|
|
|
|
Rarity
Joined: 27 Nov 2012
Posts: 329
Location: The Netherlands
PS Version: CS6
OS: Windows 8
|
| Posted: Sat Apr 19, 2014 4:51 am Post subject: |
|
|
| thehermit wrote: | | lol rarity - great result - |
Thanks - selections would have been the one size fits all solution though, as I lose the blacks in the fur itself and turn them to whites as well.
| Q540 wrote: |
Nice editing! For my 2nd duplicate, what did you mean by masking it so half was visible and how do you do this?
|
I bluntly selected roughly half of the screen and pressed the layer mask icon down bottom, that way I had both layers of which the contrast needs to match visible without removing any data. After you get the contrast matching you can just delete (drag the mask to the trash can) or disable (shift click) the layer mask.
_________________
Bart J.A.H. de Brouwer |
|
|
|
|
|
|


