|
|
| Author |
Message |
NM102992
Joined: 23 Jan 2014
Posts: 1
|
 Posted: Thu Jan 23, 2014 5:17 pm Post subject: SO Confused Posted: Thu Jan 23, 2014 5:17 pm Post subject: SO Confused |
 |
|
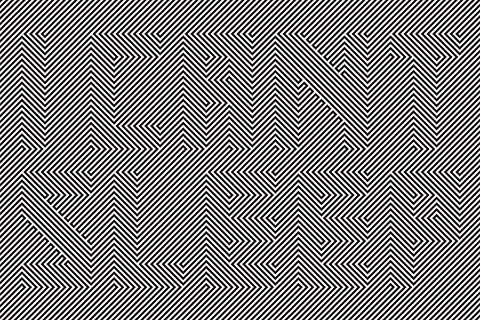
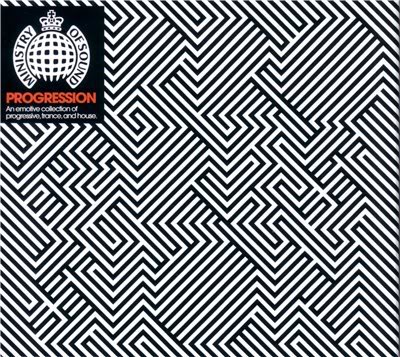
This looks quite simple, Make a horizontal line patter in both direction, delete opposite areas and everything should line up... it doesn't. I feel like this looks like such a simple task but i cannot crack the code... Am I using an incorrect font? Is there a lot more work that goes into this than i thought?
Please help, I have exhausted my mind trying to figure it out, I cant even google because I'm not sure what to call it
| Description: |
|
| Filesize: |
81.15 KB |
| Viewed: |
322 Time(s) |

|
| Description: |
|
| Filesize: |
70.07 KB |
| Viewed: |
322 Time(s) |

|
|
|
|
|
|
 |
Rarity
Joined: 27 Nov 2012
Posts: 329
Location: The Netherlands
PS Version: CS6
OS: Windows 8
|
 Posted: Thu Jan 23, 2014 6:22 pm Post subject: Posted: Thu Jan 23, 2014 6:22 pm Post subject: |
 |
|
As the font choice does enhance the effect (really basic, non decorative, square fonts like the ones used in those examples), it doesn't make or break the effect.
Here's how to do it (lemme know if you need any further help):
- Get some lines in a 45 degree angle on a blank layer, make sure the space between the lines is as big as the lines itself (best practice is creating lines just in a horizontal or vertical matter and then dragging or rotating them to their 45 degree angle).
Make sure you the lines go (some what far - depends on your pc on how much it might be able to handle) past the boundaries of your canvas.
- Duplicate and flip the layer
- Type out your text and position it where you wanna have it.
- Hide the text layer.
- Ctrl + Click the thumbnail of the textlayer to load as a selection.
- One the first layer, hold Alt (Opt on mac) and click the layermask icon.
- Ctrl + Click the thumbnail of the textlayer to load as a selection.
- On the second layer, click the layermask icon.
- Click the chains between both layers and both layer masks so they disappear.
- Move the layers around to tweak the effect.
_________________
Bart J.A.H. de Brouwer |
|
|
|
|
 |
Patrick
Administrator

Joined: 14 Feb 2003
Posts: 11945
Location: Harbinger, NC, U.S.A.
|
 Posted: Sun Feb 02, 2014 3:25 pm Post subject: Posted: Sun Feb 02, 2014 3:25 pm Post subject: |
 |
|
|
|
|
|
|
 |
|


