|
|
| Author |
Message |
extravol
Joined: 02 May 2011
Posts: 4
|
 Posted: Mon May 02, 2011 11:04 am Post subject: i need to get rid of shadow on the lake, and airplane trail Posted: Mon May 02, 2011 11:04 am Post subject: i need to get rid of shadow on the lake, and airplane trail |
 |
|
hi first time poster here, will upload crops of the things I've mentioned.
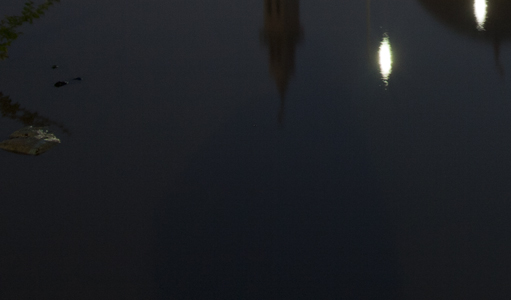
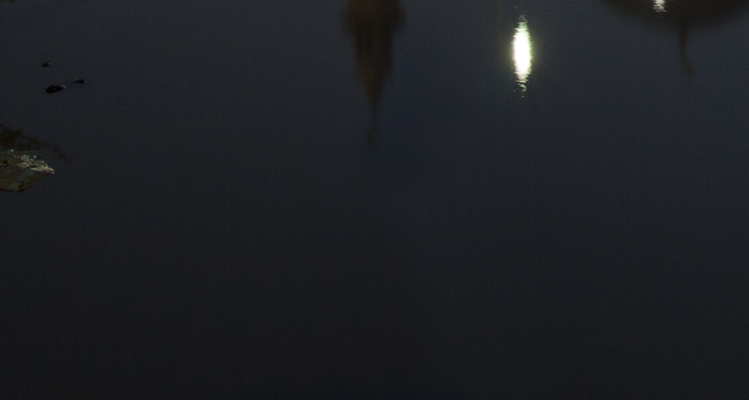
For the water on the lake ("clip 3" bottom), I tried using a copy and paste of the section right next to it, but since the water is slightly different in color it becomes obvious. How could I get the water nearby the shadow to be casually and gently blended over the shadow? Also I have to be careful as part of the shadow is on top of a reflection of the building.
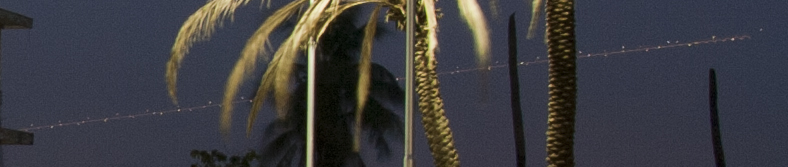
For the airline trail (clip 1), I tried using the "heal" function in photoshop however the pixels in that space look rather blurred when zoomed in, and therefore damaged - only works if overall image greatly reduced.
| Description: |
| The airline trail in the sky |
|
| Filesize: |
105.33 KB |
| Viewed: |
1050 Time(s) |
|
| Description: |
| the shadow is casted on the lake, would like to make it disappear. |
|
| Filesize: |
73.69 KB |
| Viewed: |
1050 Time(s) |
|
|
|
|
|
|
 |
thehermit
Joined: 05 Mar 2003
Posts: 3987
Location: Cheltenham, UK
|
| Posted: Mon May 02, 2011 11:31 am Post subject: |
|
|
Hi extravol, welcome to the forum. It would seem like a job for the content aware filter, what version of Photoshop do you have?
_________________
If life serves you lemons, make lemonade! |
|
|
|
|
|
extravol
Joined: 02 May 2011
Posts: 4
|
| Posted: Mon May 02, 2011 12:14 pm Post subject: |
|
|
I'm using photoshop CS5.
Upon your suggestion did a google search and watched a youtube video of this content aware aspect. Have tried using it both with heal and also the lasso "cut" option, but with limited success. It still leaves me with a noticeable amount of splotchiness.
After a few tries, this is what I've got. Thanks for the suggestion though, and any further tip would be great.
| Description: |
|
| Filesize: |
79.96 KB |
| Viewed: |
1040 Time(s) |
|
|
|
|
|
|
|
thehermit
Joined: 05 Mar 2003
Posts: 3987
Location: Cheltenham, UK
|
| Posted: Mon May 02, 2011 1:49 pm Post subject: |
|
|
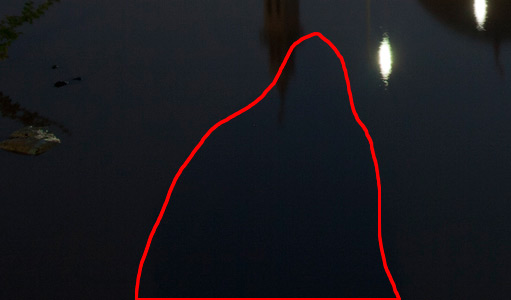
Is this the area that you were concerned about in the second image?, I am a little unsure as to the area you are concerned about. For the contrail in the first image I think clone and or heal/patch/content aware is going to be the answer.
Perhaps the missing element is noise, it would help mask the work you have done and should look pretty seamless.
| Description: |
|
| Filesize: |
25.19 KB |
| Viewed: |
1036 Time(s) |
|
_________________
If life serves you lemons, make lemonade! |
|
|
|
|
|
renata
Joined: 26 Nov 2010
Posts: 368
Location: Australia
|
| Posted: Mon May 02, 2011 2:47 pm Post subject: |
|
|
Have a go at the clone stamp tool, but do smaller areas at a time.
For example, in the lake picture, start at the edge of the reflection. Choose the clone tool, and <ALT><CLICK> a spot just outside the reflection. Then click at the edge of the reflection and work your way inwards.
Points to remember:
- After you've clicked the clone tool, try adjusting the brush (click the little downward triangle at the top). You can adjust the size as well as the hardness. A softer brush blends a bit better at the edges.
- It might take lots of little stamps to get it right.
- You can <ALT><CLICK> again whenever you like to choose a new source point as you move across.
Give it a go.
|
|
|
|
|
|
extravol
Joined: 02 May 2011
Posts: 4
|
| Posted: Mon May 02, 2011 8:11 pm Post subject: |
|
|
thehermit, yes that's the one. don't know how you got that red line as all I get is the thin silver one with lasso.
renata, have taken your tips and played with it a bit. i noticed that actually a "hard circle" (i.e. not faded edges) actually gives a cleaner clone copy, however, with both the softer circle or the harder one, I get another problem. Because the color is clearly quite different on both sides of the shadow, as I clone each side and remove the shadow, the light source from each side remains rather the same, so when I get to the middle with the shadow almost completely gone, I then see two different colors and shades. I tried using a heal stamp on top of these, but as always, I get even more splotchiness than without it.
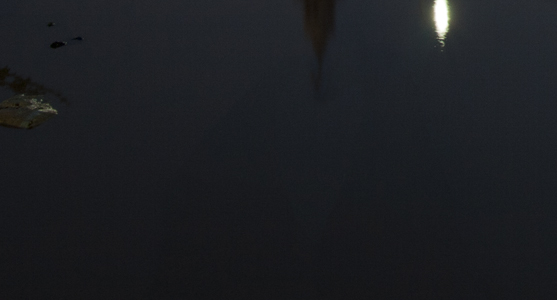
This might be all fine if I downsized the photo to under 1000px wide, however I will need to keep it at full size of 5120 x 3413. I'll paste another clip of where I've gotten. If I could just get the final portion to somehow blend in very smoothly it would be close to finished (except for some touchups at the building tip of which I've yet to attempt).
| Description: |
|
| Filesize: |
134.19 KB |
| Viewed: |
1016 Time(s) |
|
|
|
|
|
|
|
renata
Joined: 26 Nov 2010
Posts: 368
Location: Australia
|
| Posted: Mon May 02, 2011 10:22 pm Post subject: |
|
|
I guess you need to keep cloning from each side in small pieces until the transition looks less stark. I'm afraid I don't have magic answers, I would only use trial and error myself. Some more things to try:
- Did you know that you can set the opacity and flow of the brush that you are using to clone with? Perhaps lowering the opacity and doing a few extra stamps would help it blend better.
- You can vary the size of the brush as you stamp by clicking [ (to get smaller) and ] (to get bigger). Perhaps a bigger stamp as you get closer to the middle?
- You don't have to choose a round brush, you can choose any brush you like. Or you can change the options of the brush to give it more spread out bristles, which might blend better (window>brush the increase the spacing). Perhaps a bigger, more sparce brush would blend better?
- Try stamping more randomly in that section so that you don't meet in such a straight line in the middle.
Sorry I can't tell you exactly, but these are all things to try.
Or maybe now that you're close to the middle you can abandon the clone stamp, make a large selection and use content-aware fill on the final section?
|
|
|
|
|
|
extravol
Joined: 02 May 2011
Posts: 4
|
| Posted: Tue May 03, 2011 9:41 pm Post subject: |
|
|
Ok, I'll keep trying and give those ideas a shot as well. Looks like water is especially sensitive more than something like, a grassy field which has plenty of variation. Water is almost perfectly smooth, nearly anyways. Maybe something else will come up. Hopefully I can find an aspect which forces PS to blend with a 'forced' smoothness and no random spottiness. In the meantime, thanks for what we've got so far!
|
|
|
|
|
|
|


