|
|
| Author |
Message |
truetifoso
Joined: 20 Jun 2010
Posts: 16
Location: Southern California
|
 Posted: Fri Sep 24, 2010 3:55 pm Post subject: Soccer Ball Posted: Fri Sep 24, 2010 3:55 pm Post subject: Soccer Ball |
 |
|
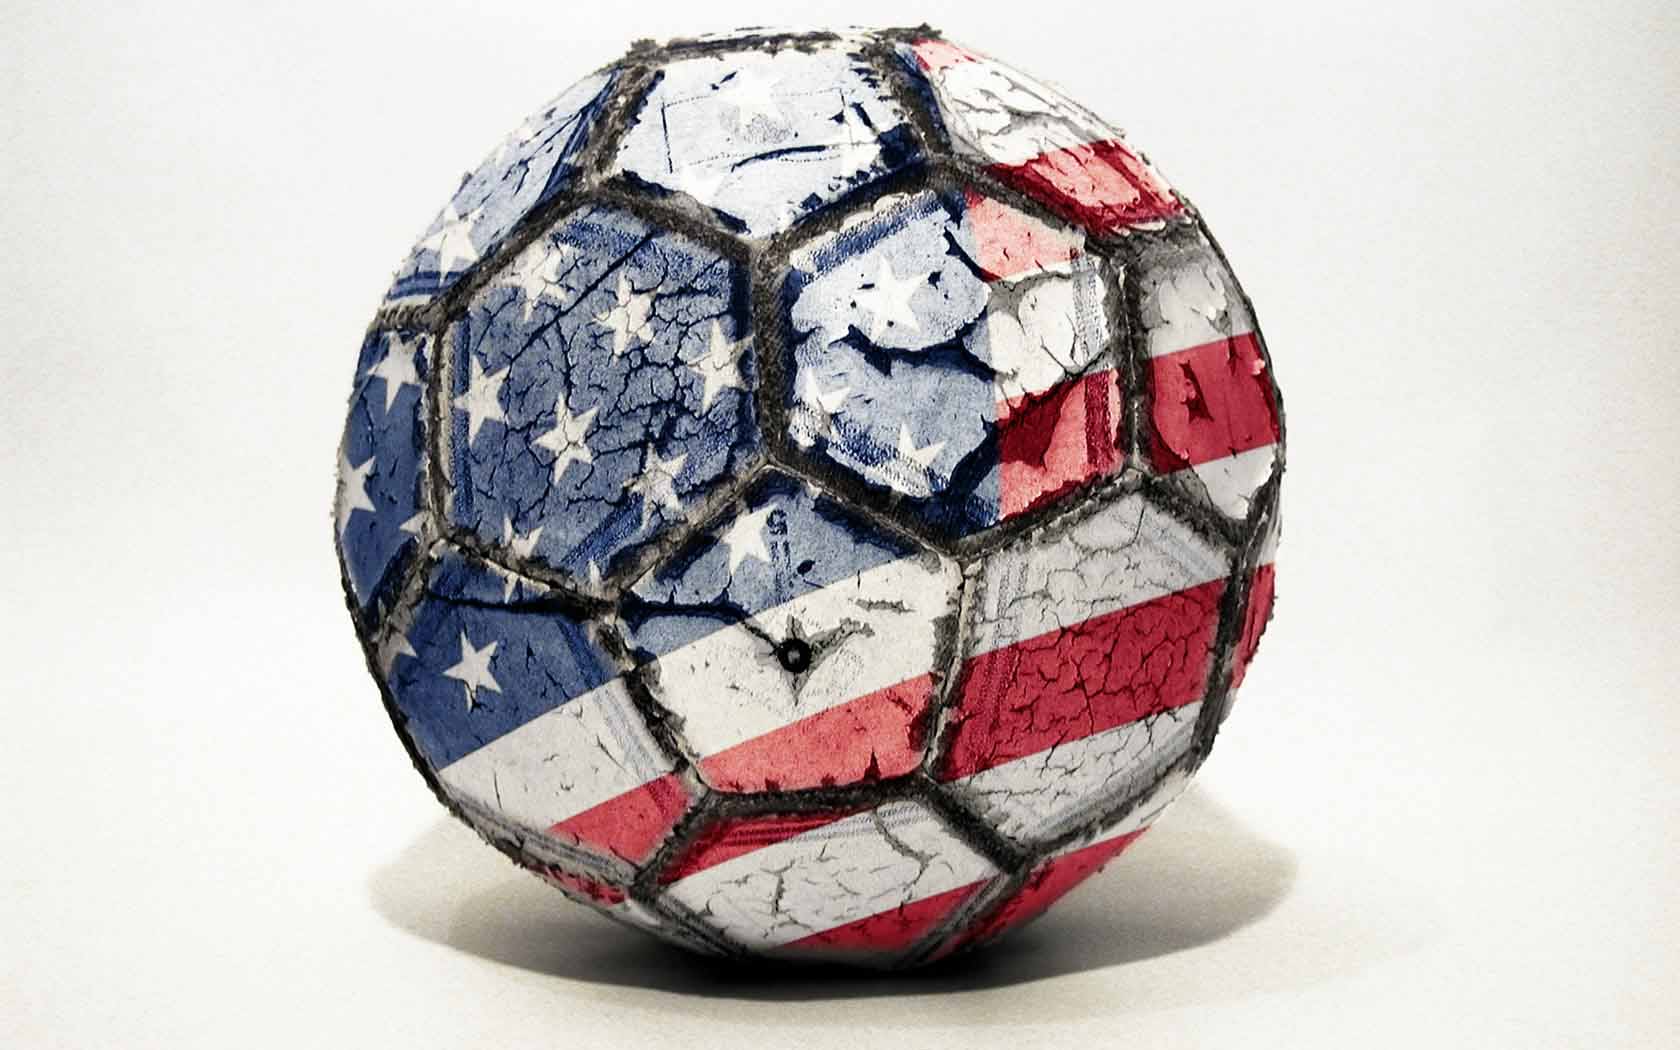
I love the soccer ball I attached to this post.
Does anyone have ideas as to how I can replace the American flag design with a flat, illustrated logo while still maintaining the overall look of the picture?
| Description: |
|
| Filesize: |
132.99 KB |
| Viewed: |
2049 Time(s) |

|
|
|
|
|
|
 |
truetifoso
Joined: 20 Jun 2010
Posts: 16
Location: Southern California
|
 Posted: Fri Sep 24, 2010 3:57 pm Post subject: Flat Logo Posted: Fri Sep 24, 2010 3:57 pm Post subject: Flat Logo |
 |
|
Here is an example of a logo I would use.
| Description: |
|
| Filesize: |
28.88 KB |
| Viewed: |
2046 Time(s) |

|
|
|
|
|
|
 |
thehermit
Joined: 05 Mar 2003
Posts: 3987
Location: Cheltenham, UK
|
 Posted: Fri Sep 24, 2010 4:50 pm Post subject: Posted: Fri Sep 24, 2010 4:50 pm Post subject: |
 |
|
Try the blend modes, something like overlay and or soft light in varying degrees. A source image that is grungy looks like it makes a difference too.
_________________
If life serves you lemons, make lemonade! |
|
|
|
|
 |
seaco

Joined: 31 Dec 2009
Posts: 729
Location: UK
PS Version: CC
OS: Windows 10
|
 Posted: Fri Sep 24, 2010 5:36 pm Post subject: Posted: Fri Sep 24, 2010 5:36 pm Post subject: |
 |
|
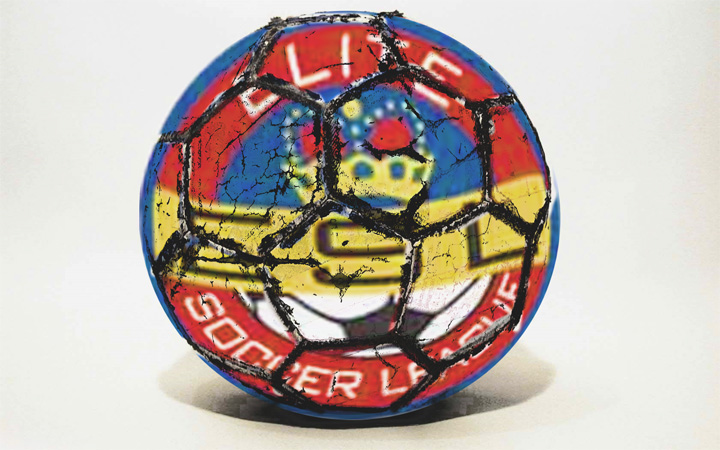
Need a better res logo to do this justice!
| Description: |
|
| Filesize: |
150.64 KB |
| Viewed: |
2031 Time(s) |

|
_________________
Lee |
|
|
|
|
 |
truetifoso
Joined: 20 Jun 2010
Posts: 16
Location: Southern California
|
 Posted: Fri Sep 24, 2010 8:15 pm Post subject: Posted: Fri Sep 24, 2010 8:15 pm Post subject: |
 |
|
That's amazing!
How did you preserve the seams and the tears while bringing out the ESL logo?
In respect to a grungy logo, the actual one I want to use is a simple, clean 3-color illustration.
|
|
|
|
|
 |
seaco

Joined: 31 Dec 2009
Posts: 729
Location: UK
PS Version: CC
OS: Windows 10
|
 Posted: Sat Sep 25, 2010 5:46 am Post subject: Posted: Sat Sep 25, 2010 5:46 am Post subject: |
 |
|
I used the REPLACE COLOUR tool and chose the blue then slid the SATURATION slider to the left to remove the colour, Then I used the BRIGHTNESS slider to even the tone. after I did the same to the red.
You should now have a fairly clear ball, cut out and paste the logo over it making it's the same size, then making sure the ball is selected in LAYERS choose MULTIPLY this will allow the ball to show through I used the HISTORY BRUSH to go over the ball lines to help them show more, then it's just a matter of HUE SATURATION etc. to get things looking better...
About 20mins work
Hope this helps!
PS forgot to say I did LIQUIFY the logo to add a little shape but it needs more!
_________________
Lee |
|
|
|
|
 |
truetifoso
Joined: 20 Jun 2010
Posts: 16
Location: Southern California
|
 Posted: Sat Sep 25, 2010 9:15 pm Post subject: Posted: Sat Sep 25, 2010 9:15 pm Post subject: |
 |
|
This is great!
Thanks so much for the education.
|
|
|
|
|
 |
Patrick
Administrator

Joined: 14 Feb 2003
Posts: 11945
Location: Harbinger, NC, U.S.A.
|
 Posted: Mon Sep 27, 2010 2:16 pm Post subject: Posted: Mon Sep 27, 2010 2:16 pm Post subject: |
 |
|
|
|
|
|
|
 |
colorznhd
Joined: 01 Nov 2010
Posts: 10
Location: san antonio,tx
|
 Posted: Tue Nov 02, 2010 12:19 am Post subject: cool Posted: Tue Nov 02, 2010 12:19 am Post subject: cool |
 |
|
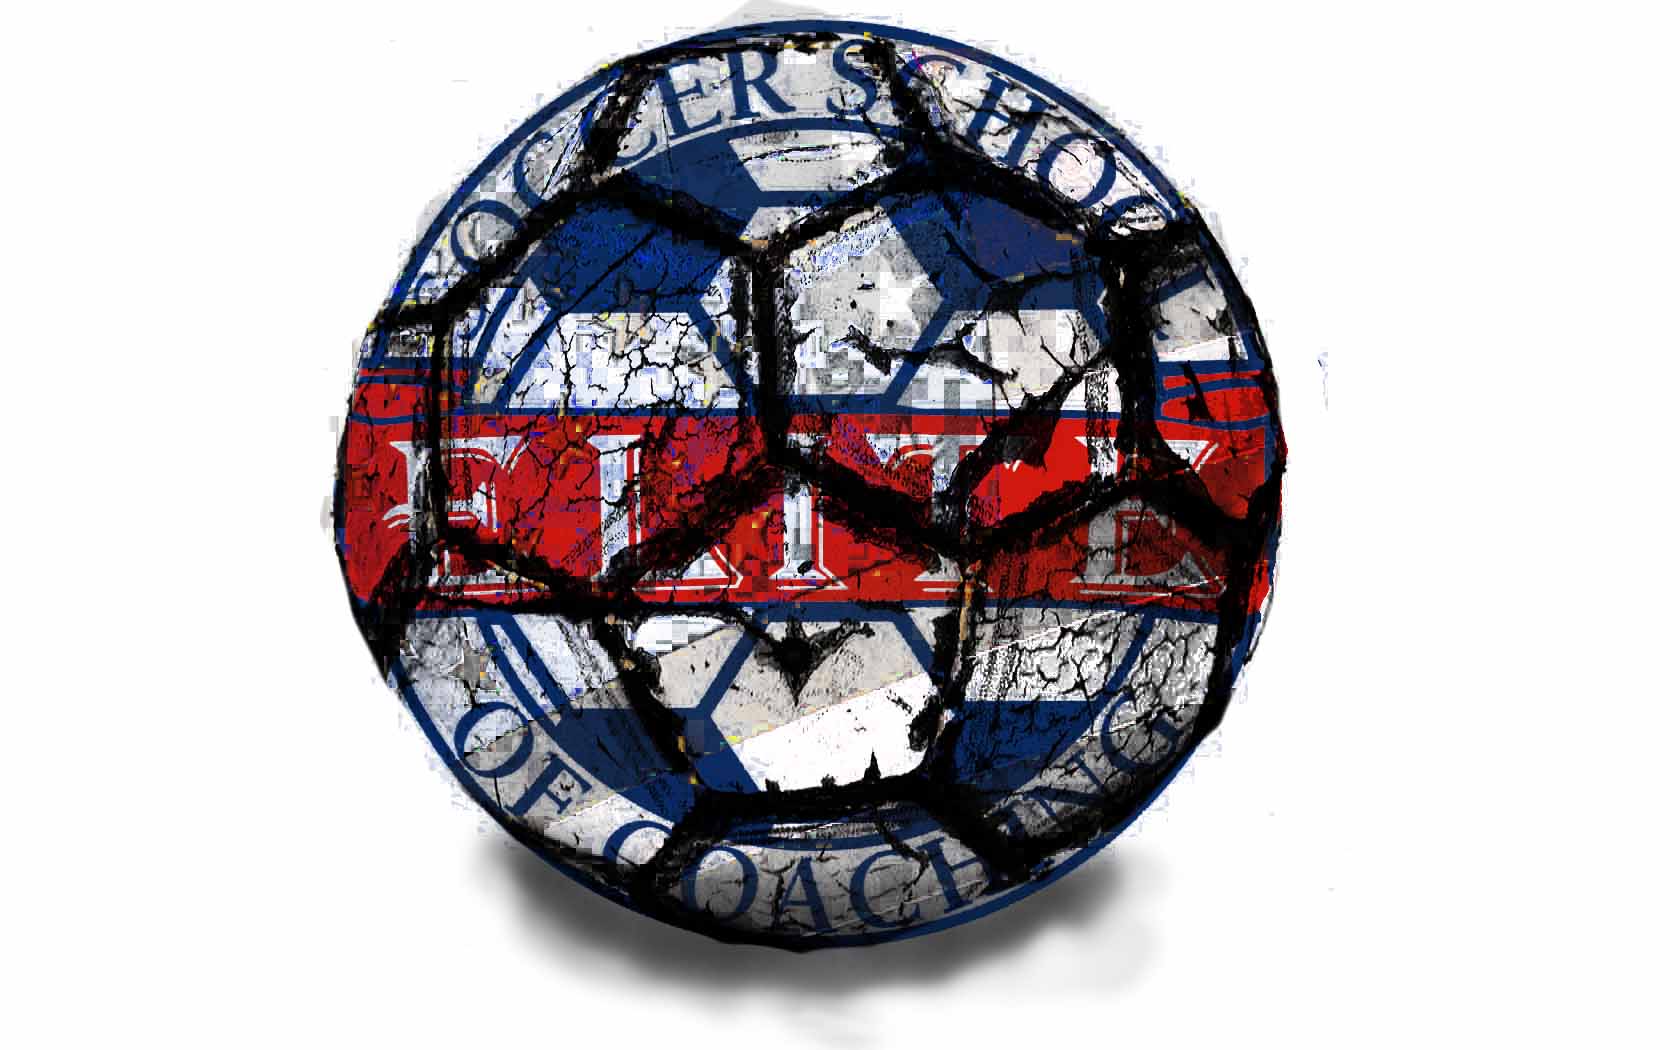
i tried it just because im new to photoshop as well as the forumn any practice counts hope u like
| Description: |
|
| Filesize: |
136.48 KB |
| Viewed: |
1886 Time(s) |

|
|
|
|
|
|
 |
colorznhd
Joined: 01 Nov 2010
Posts: 10
Location: san antonio,tx
|
 Posted: Tue Nov 02, 2010 12:30 am Post subject: resized too large Posted: Tue Nov 02, 2010 12:30 am Post subject: resized too large |
 |
|
another tru resized same photo
| Description: |
|
| Filesize: |
51.88 KB |
| Viewed: |
1883 Time(s) |

|
|
|
|
|
|
 |
|


