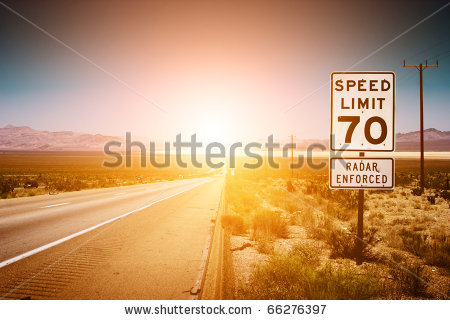
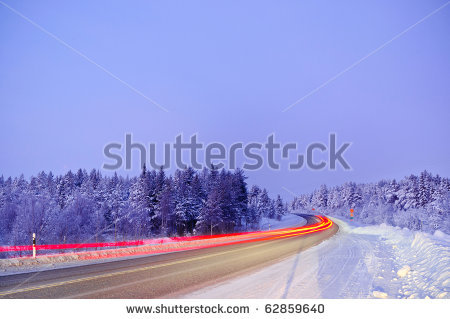
So if I get this right, you want the low shutter speed effect of the second photo on the first photo but then with a blue light?
Most likely the way I'd do it is trying to recreate the effect, I've come pretty close just fiddling around like this:
- Brushed some white lines in with a tablet, where the light steaks should be
- Transformed that to fit better; there's a limit to what one can do with just a brush
- Played around with the inner and outer glow (same colour on one layer - slight variations across the multiple layers)
- Tweaked that with some adjustment layers
You could do it the partial easier way though, the harder part there is finding a stock that matches the road almost perfectly.
- Use a selection via channels to get nothing but the light streaks and mask them.
- Paste it in stock 1
- Change the colour with an adjustment layer (most likely I'd use a gradient map or a photofilter for this type of colour change.)
- Edit the mask to fit stock one
- Done
If I didn't get you right and you just wanted to change the red lights in stock 2 to blue, go for a selective colour adjustment layer, up the cyans and blues in the reds and yellows. Mask off where you don't need that adjustment. (Road signs are orange so they might be affected, up to you if/how you want to mask that.)
Grtz,
_________________
Bart J.A.H. de Brouwer |