|
|
| Author |
Message |
hickeyb
Joined: 20 Mar 2008
Posts: 1
|
 Posted: Fri Mar 21, 2008 12:07 am Post subject: begginer. simple questions re: tshirt design. Posted: Fri Mar 21, 2008 12:07 am Post subject: begginer. simple questions re: tshirt design. |
 |
|
Hello there  Ill keep it short and sweet. Ill keep it short and sweet.
1. When taking a picture and dragging the saturation down to -100 (to make it black and white), then i want to turn the picture TRUE black and white to use as a tshirt design. I use the LEVELS control to do this , but to get truley JUST black and white you have to drag the arrows untill they touch each other , but then everything just ends up very pixelated. to what sort of degree should I drag the levels to ensure i get a picture that still looks smooth but that will definatly print smoothly (not pixelated) on a tshirt with a one colour screen.
*p.s if you want pictures as examples post here and i will *
2. Say i have an outline of a tshirt, filled in blue , on a white background.
how do i, drag a picture on top of it and adjust it so the picture i just dragged only shows through the blue of the tshirt so is behind the white background, so as to only show through the tshirt (only be on the tshirt, so to speak).
guhh , sorry if this is wordy and confusing ! id really appreciate some help
thank you !x
|
|
|
|
|
 |
Matt
VIP

Joined: 24 Sep 2007
Posts: 3515
Location: Haverhill, UK
PS Version: Lightroom 5, CS4 & Elements 11
OS: Windows 8.1
|
| Posted: Fri Mar 21, 2008 1:31 pm Post subject: |
|
|
Hey there
1. The fastest and easiest way to convert an image to true black and white is to change the colour mode to bitmap like so - Image > Mode > Bitmap. If you find the bitmap option not available try converting to greyscale first - Image > Mode > Greyscale.
2. I think your best bet is to work with layers. If I'm reading your question right then you'd want to create a background layer and fill it with white. Then create a second layer and draw the t-shirt (keeping areas that aren't occupied by the t-shirt transparent). Now import the logo onto a third layer and clip it inside the boundaries of the second layer. To do this, select the third layer and go to Image > Create Clipping Mask. The third layer will now be clipped inside the opaque boundaries of the second layer.
I'm assuming you're working with the full version of Photoshop by the way, if you're not, we may need to tackle the first question again.
Hope this helps
_________________
Matt
3photoshop.com
http://www.3photoshop.com |
|
|
|
|
|
haydos585
Joined: 22 Mar 2008
Posts: 22
Location: Adelaide, Australia
PS Version: CS2
OS: WindowsXP/Mac OSX 10.5
|
| Posted: Sat Mar 22, 2008 1:07 am Post subject: |
|
|
1. ctrl+shift+J that will turn it to black/white...if thats what you mean
2. sorry mate but i dont really get what your saying...picss =]
do you want something along the lines of
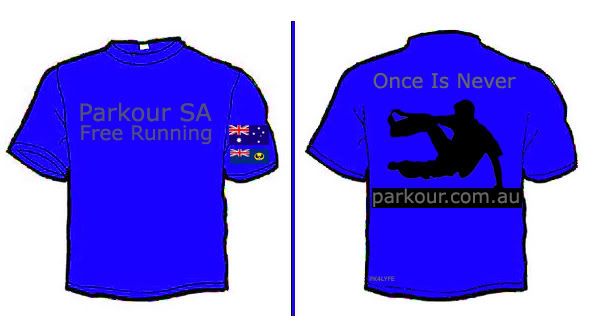
_________________
>img resizemod="on" onload="rmw_img_loaded(this)" src="http://i9.photobucket.com/albums/a76/haydos/Haydoscommsigcopy.jpg"> |
|
|
|
|
|
Matt
VIP
Joined: 24 Sep 2007
Posts: 3515
Location: Haverhill, UK
PS Version: Lightroom 5, CS4 & Elements 11
OS: Windows 8.1
|
|
|
|
|
|
|